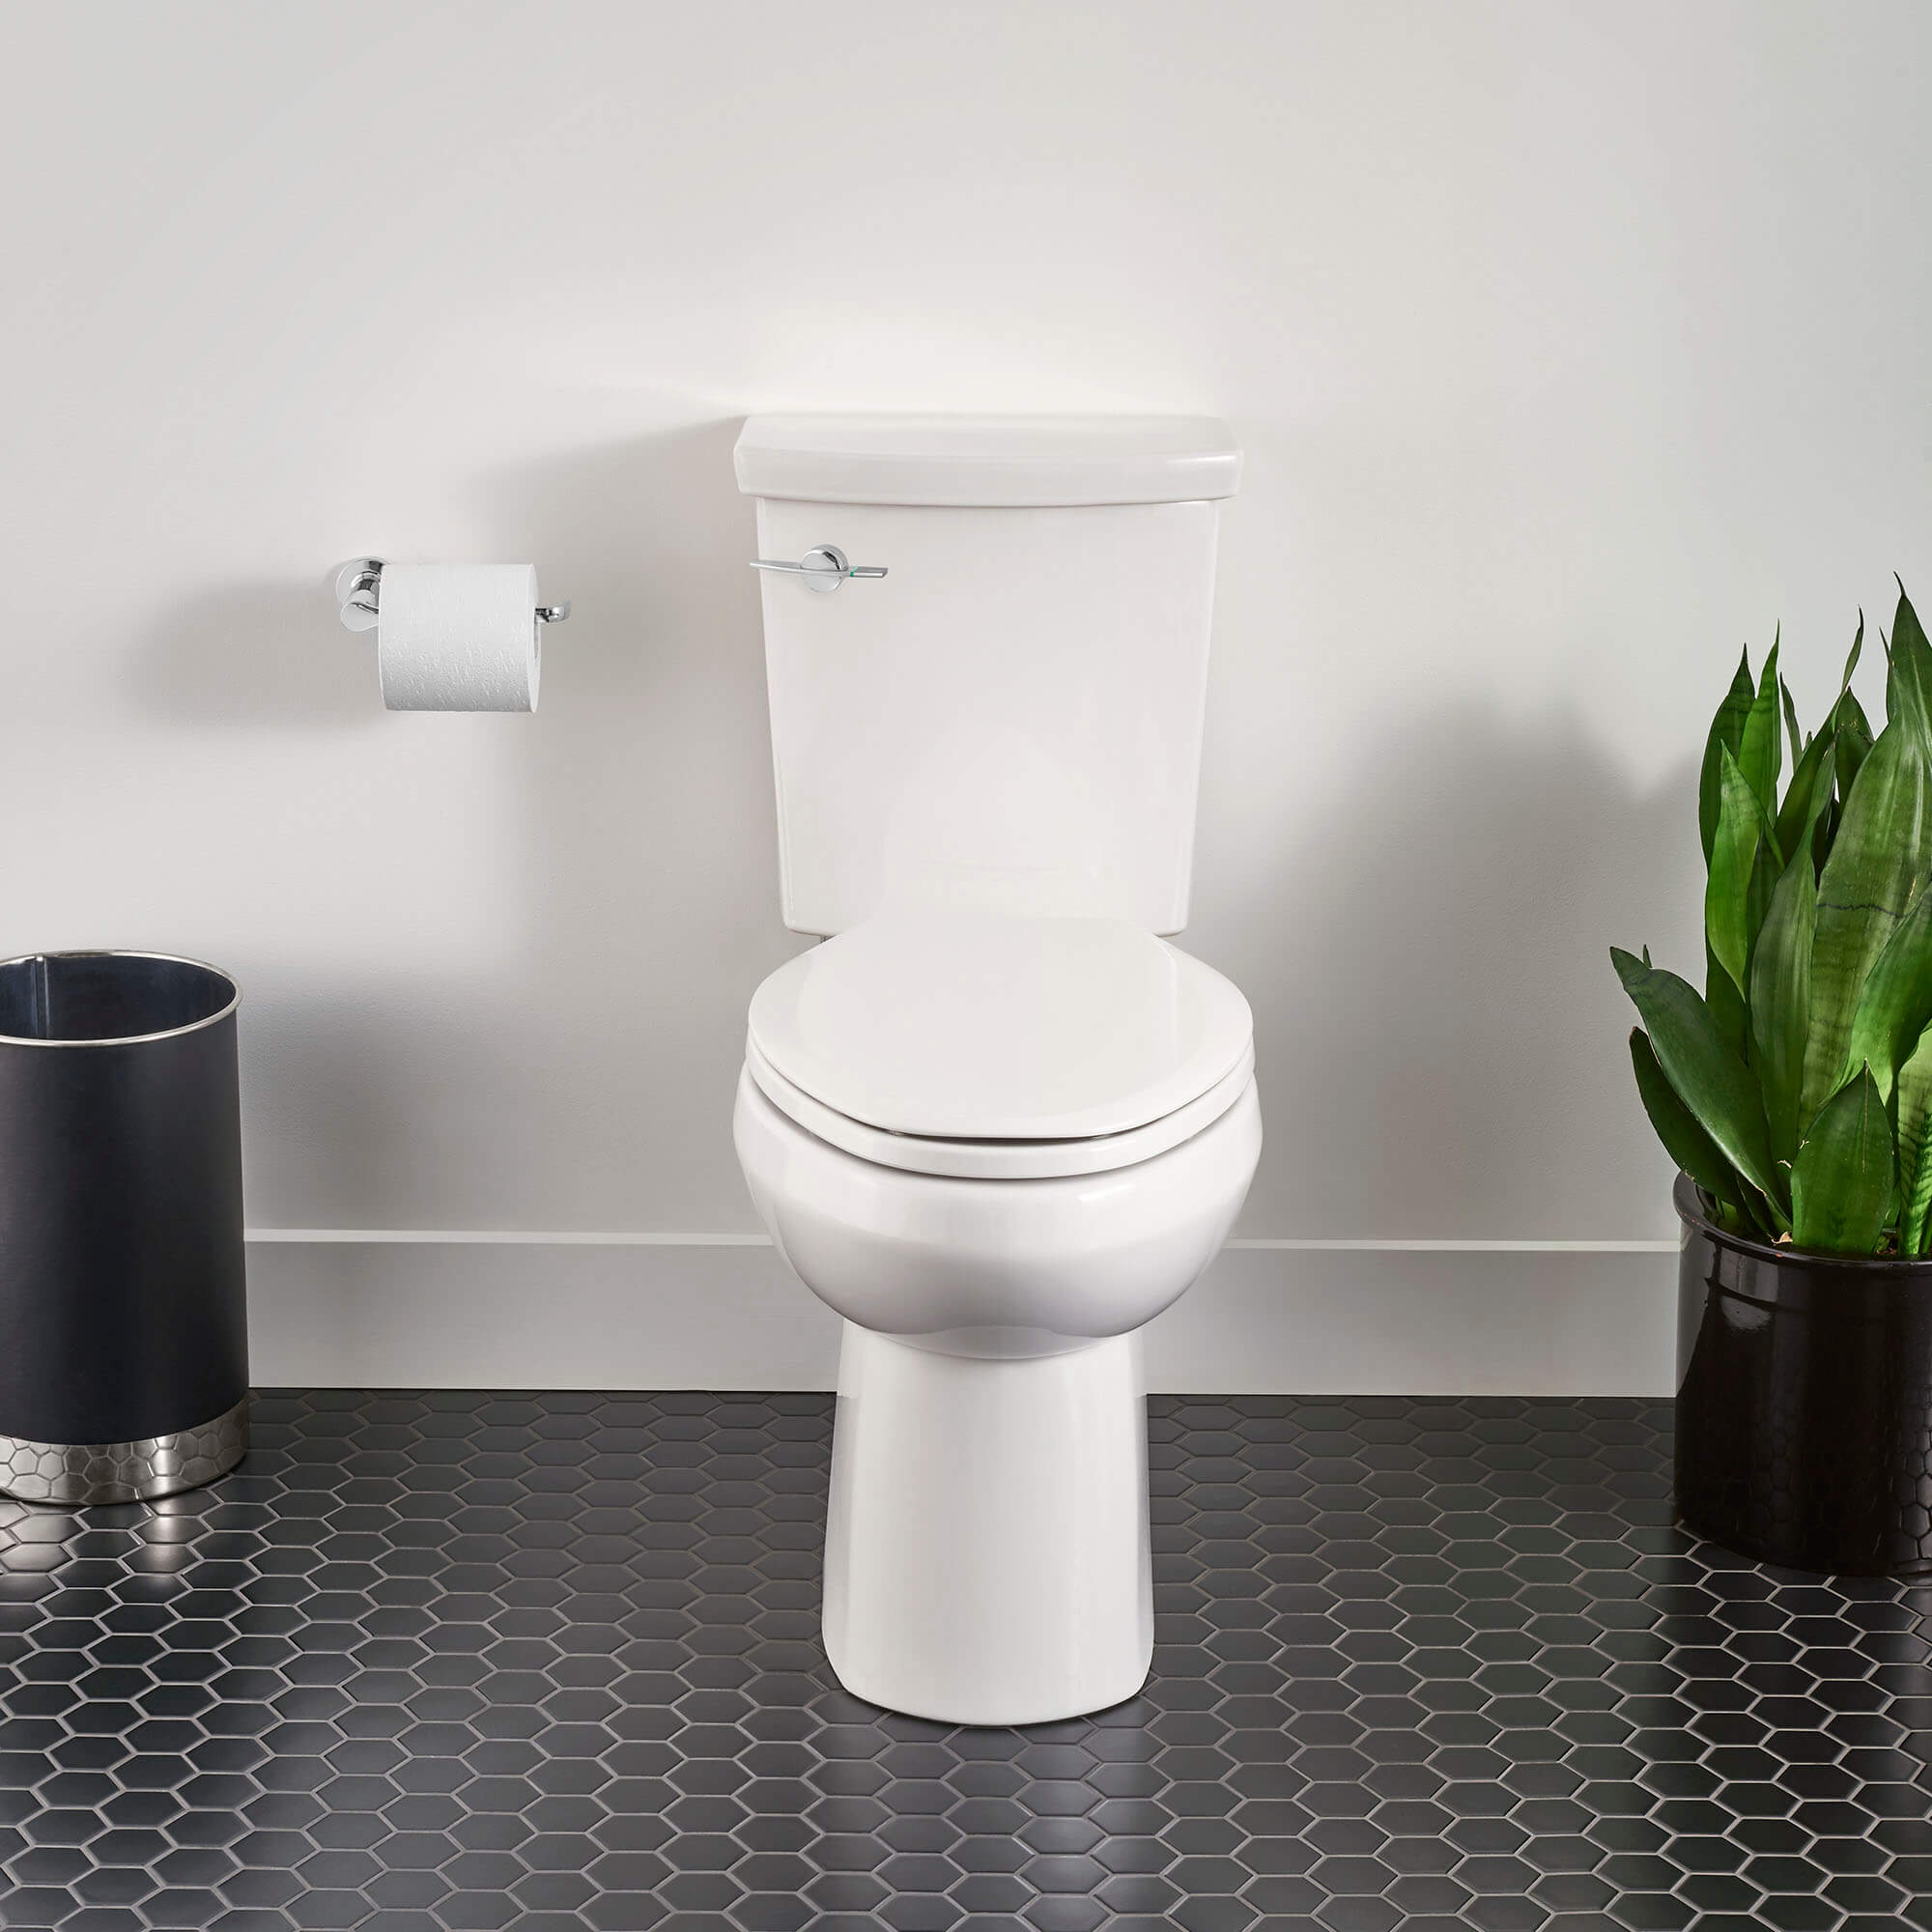
How to Replace a Flush Valve on an H2Option Toilet
Follow along with this video to learn how to properly replace the flush valve on an American Standard H2Option toilet.
STEP 1: Begin by shutting off the water supply.
STEP 2: Loosen and remove the tank-to-bowl nuts.
STEP 3: Remove the tank to bowl gaskets from the underside of the tank.
STEP 4: Remove the overflow hose from the overflow tube. Then, remove the flush valve assembly from the inside.
STEP 5: Install the valve. Be sure to orient the valve assembly so that the overflow tube is positioned towards the back of the tank.
STEP 6: Place the friction washer over the threads on the bottom of the tank.
STEP 7: Tighten the nut by hand, then fully secure with a wrench – being careful not to overtighten.
STEP 8: Reattach the overflow hose onto the overflow tube of the new valve.
The Flush Valve is now fully installed and the American Standard H2Option Toilet is ready for use.
Additional Resources

 Setting the standard
Create An Account
*Required Fields
 ELEGANCE ENGINEERED TO ENDURE
RESET YOUR PASSWORD
ELEGANCE ENGINEERED TO ENDURE