
How to Change the Silicone Seal on a VorMax Toilet
If you are experiencing a leaking toilet, the silicone seal on your flapper may need to be replaced. Follow this video to replace the silicone seal on your Vormax Toilet from American Standard.
Recommended Tools:
• Needle Nose Pliers
STEP 1: Turn off the water supply,
STEP 2: Drain the tank by holding down the handle, or lifting the valve chain inside the tank.
STEP 3: Depress the trip lever, and remove the clevis pin from the trip lever rod. Needle nose pliers will make it easier to grip and remove the clevis pin.
STEP 4: Detach the trip lever rod from the flush valve.
STEP 5: Detach the flappers from both the red and black flush valves.
STEP 6: Remove the silicone seal kit from both flappers.
STEP 7: Attach the silicon seal kits to both flappers.
STEP 8: Reattach the flappers to each flush valve, and then
STEP 9: Reattach the flush valve to the trip lever, replace the clevis pin, and your VorMax toilet is now ready to use again!
Additional Resources

 Setting the standard
Create An Account
*Required Fields
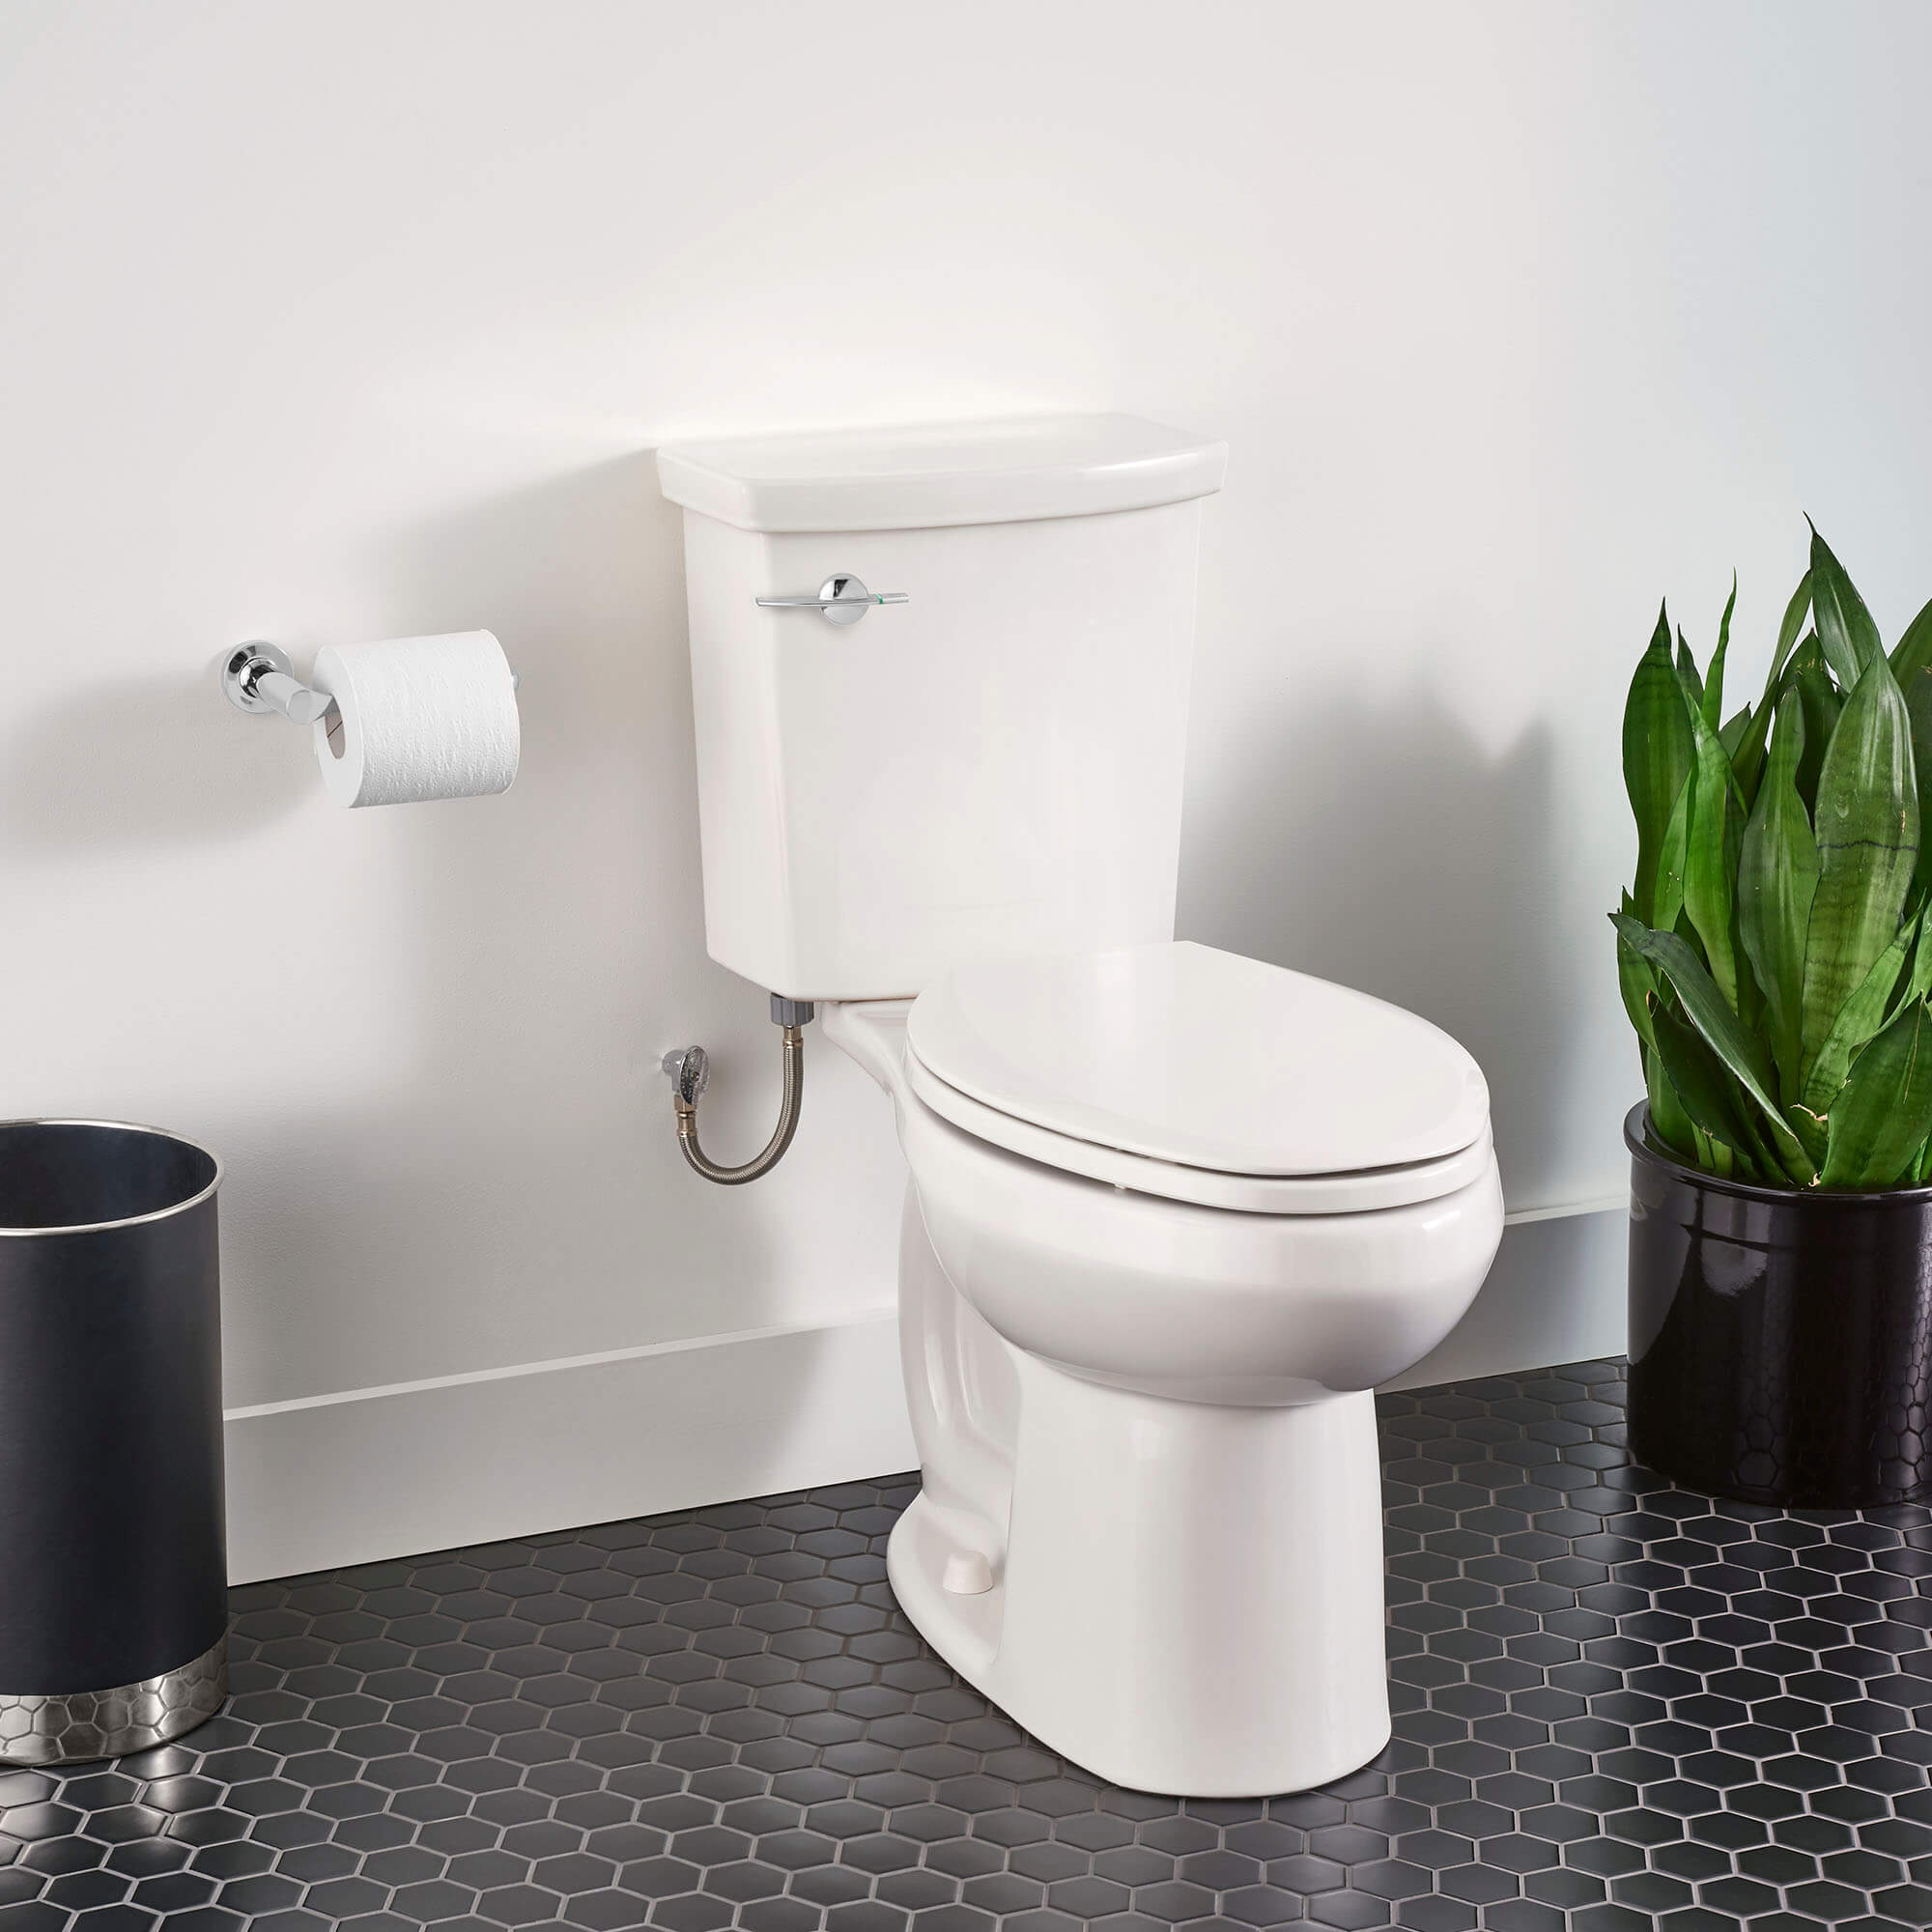
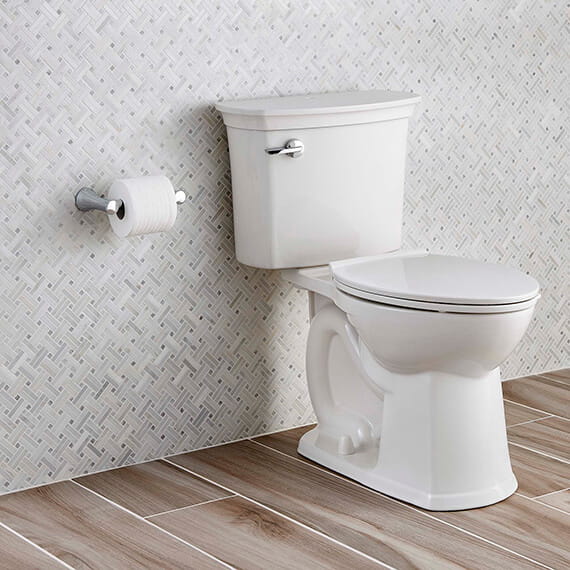
 ELEGANCE ENGINEERED TO ENDURE
RESET YOUR PASSWORD
ELEGANCE ENGINEERED TO ENDURE